Pendo Login Settings: How to Set Up SSO and SCIM


Pendo login process is designed for enterprise businesses that need SSO with automated provisioning.
So if you need to provide safe, seamless access to product analytics in your team operations. I’ll show you how to configure Pendo’s SSO and understand its nuances compared to other platforms:
What is Pendo?
Pendo is a trusted product experience platform that allows you to:
- Understand user behavior insights with product analytics tools, metrics, and session replays.
- Measure user sentiment based on user feedback and surveys.
- Improve user engagement with in-app guidance and personalized customer communications.
How Pendo login process works
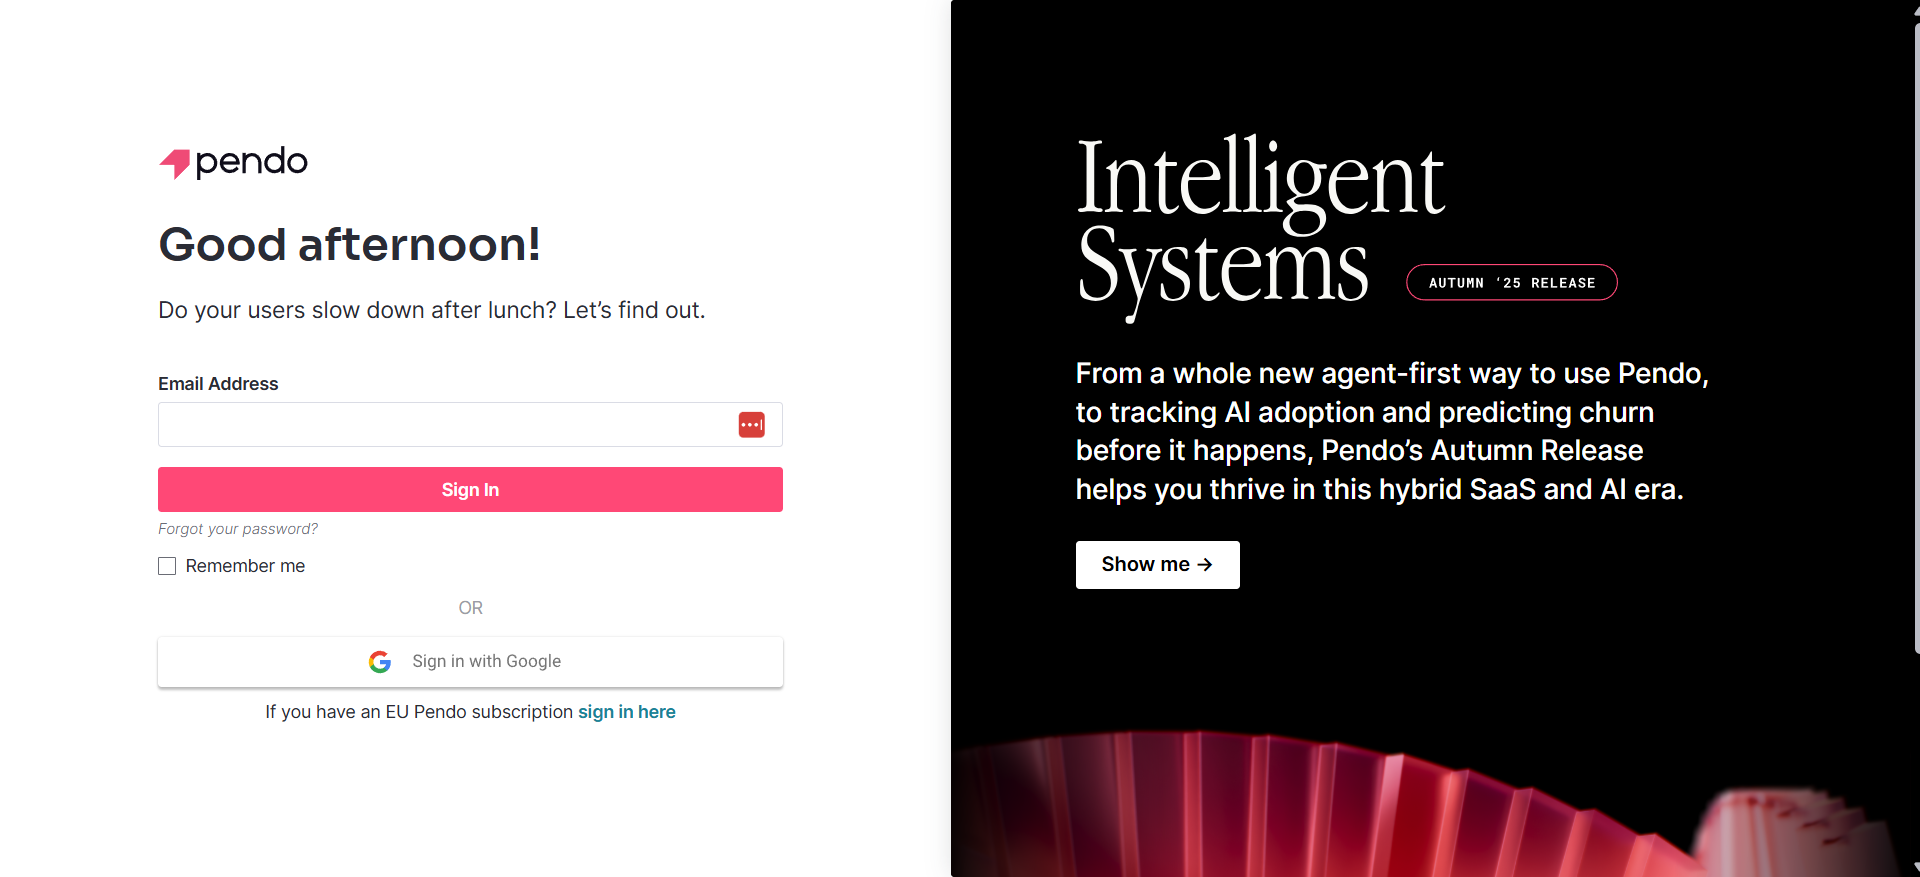
By default, you can access Pendo via email address and password. You receive an invitation email, set a password, and log in directly via Pendo’s sign-in screen.
But since Pendo is highly targeted to enterprise companies, the platform heavily incentivizes you to set up SSO and SCIM to manage access more efficiently.
Note: You can link your Google account via OAuth integration (don’t confuse with Google’s SAML) to log in just by hitting “sign in with Google”. But you need to contact Pendo support to set it up.
Configuring SSO in Pendo
In a nutshell, Single Sign-On (SSO) authenticates users through an Identity Provider (IdP) like Okta, OneLogin, or Microsoft Entra ID.
Pendo supports SAML 2.0 and connects with any Identity Provider (IdP) that supports it. This replaces the Pendo-specific username and password to streamline the login experience.
Here’s how to set up SSO in Pendo:
1. Verify the domain
Pendo requires you to prove that you own the domain before it lets you control authentication.
To do it, navigate to Settings > Organization Settings > Domain Verification and:
- Copy the unique TXT record provided by Pendo.
- Log in to your DNS provider.
- Add the TXT record to your root domain.
- Wait for propagation (usually minutes, sometimes hours).
- Click “Verify” in Pendo. SAML setup is locked until this step turns green.
2. Configure the IdP
Add a new SAML 2.0 application in your IdP. And while pre-built “Pendo” apps exist in many IdP galleries (like Okta’s integration network), creating a custom app often provides superior control for complex needs.
After setting up the IdP, you must input Pendo’s metadata into it, including the ACS URL, the Entity ID, and the relay state. Which you can find in Pendo’s support docs.
Note: The relay state directs Pendo where to send the user after they successfully authenticate at the login screen. Since Pendo shards its infrastructure by region, you’ll get a 404 error if the URL doesn’t match your account’s data center location.
3. Swap the metadata
Once your IdP is ready, it will generate a metadata XML file. Download it and:
- Navigate to Organization Settings > SSO in Pendo.
- Select Add new configuration.
- Upload the XML file you got from your IdP.
- Enter a technical contact email.
Note: At this point, test the login in an incognito window to see if it works before enforcing SSO.
4. Automate provisioning with SCIM
SCIM automatically gives access, changes permissions, or revokes access to users based on their IdP attributes. This way, Admin doesn’t need to send 50 invites if the company hires 50 new employees.
To set it up:
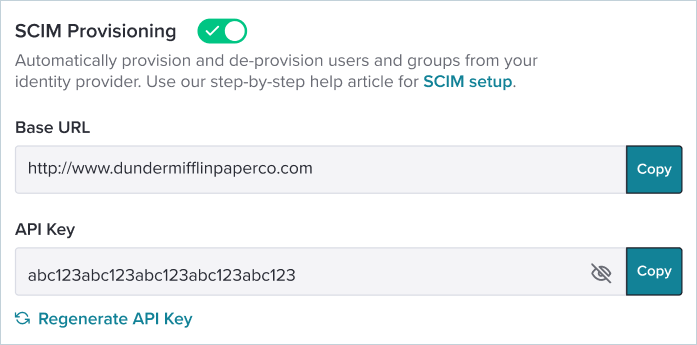
- Generate the API key: In Pendo, find the SCIM settings in the SSO page to enable “SCIM provisioning”. It will generate the metadata and the token (API key) that you need to copy.
- Connect SCIM in your IdP: Go back to your Identity Provider (e.g., Okta) and paste the data you copied from Pendo in the API configurations. I recommended testing the connection before proceeding.
- Configure attribute mapping: This determines which fields in your IdP map correspond to Pendo’s fields. This includes users’ attributes like first name, last name, email, and whether they’re active or not.
- Map groups to roles: This is where you translate your IdP groups (e.g., admins, marketing team, product team, IT, etc) into Pendo permissions. Go to Subscription Access in Pendo’s SSO settings and select “assign permissions” to set up the corresponding permissions for each group.
Warning: Enabling SCIM usually disables manual user management. Meaning you won’t be able to invite users via email from the Pendo UI anymore. It all has to come from the IdP.
Consider switching to Userpilot
Configuring Pendo login with SSO and SCIM allows you to drive security policies and save time on user administration.
Although Pendo is undeniably powerful, it comes with trade-offs. Pendo often involves unexpected costs, a steep learning curve, and complex implementation that can slow down your product adoption outcomes.
If you’re searching for a product adoption platform that gets you started quickly, consider Userpilot. Here are some reasons to pick Userpilot over Pendo:
- Transparent pricing with no hidden add-ons.
- An easier learning curve that lets you see value from day one.
- Support for multiple integrations by default.
- No UI inconsistencies and unified interface design.
Want to see improvements in your product team’s workflows? Book a demo to see how you can start tracking quantitative data in detail and engage users without coding.
Userpilot strives to provide accurate information to help businesses determine the best solution for their particular needs. Due to the dynamic nature of the industry, the features offered by Userpilot and others often change over time. The statements made in this article are accurate to the best of Userpilot’s knowledge as of its publication/most recent update on December 1, 2025.
FAQ
Does Pendo provide Just-In-Time (JIT) provisioning?
Pendo does not support Just-in-Time (JIT) provisioning like other apps. You must rely on SCIM for user management. If you skip the SCIM setup, you have to manually organize users in Pendo before they can log in via SSO.
Why can I log in, but can't see any user engagement data?
Some reasons include:
- Your account was created, but it wasn’t granted any permissions yet.
- The relay state URL doesn’t match the account’s data center location and needs to be re-configured.
In both cases, contact your admin to resolve the issue.
About the author