Choosing and building the right product experiences for your onboarding
Lesson #4
Choosing and building the right product experiences for your onboarding
In this lesson, we’ll explore various types of UI patterns that can help you implement solutions for problems you have detected in the user journey.
The goal of this lesson is to help you choose the right combination of UI patterns to build your onboarding experience.

Exploring Different UI Patterns For Your Onboarding Experience
Choosing the right product experiences for your onboarding is a key skill that can help you increase activation, and improve secondary feature adoption.
Let’s take a look at some of the most popular UI patterns, and explore the use cases for each one.
Modals
Modals are a window-like overlay that completely take over the screen.
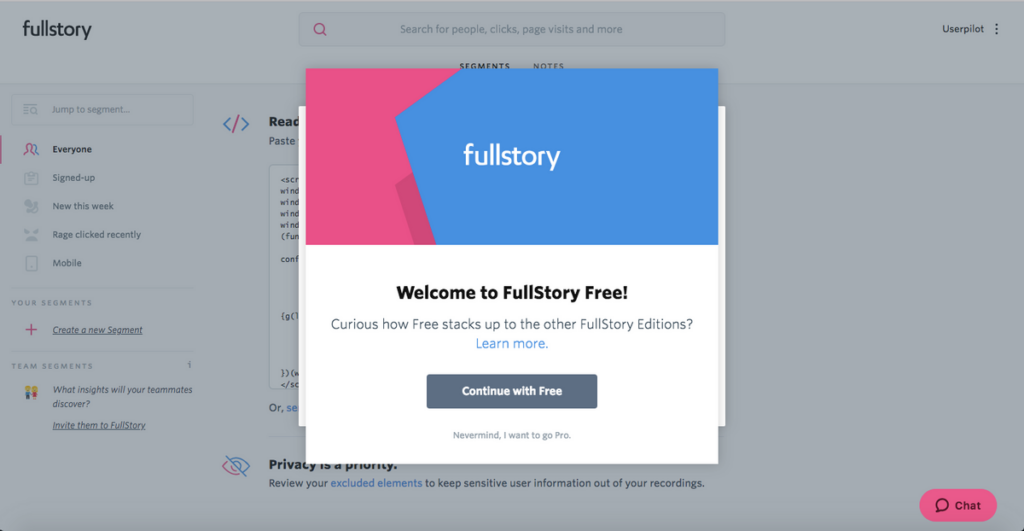
Modals are, by nature, an aggressive way of grabbing the users’ attention. This can make them very useful in transmitting important information, or pushing users to take critical actions.
Here are some popular use cases for modals.
Welcoming new users
Modals are a great way to start a first-run experience. It can help you set the pace for what’s expected, and push users towards those first important set of actions.
You can also create branched welcome experiences that allows users to choose their own adventure’ or how they want to start their path to activation.
Utilizing empty states
Modals can also be used in pages that are still in an empty state. This can direct users to important actions in that view.
Nudging users along the journey
You can also use modals to call users to action at a certain point of their journey, especially after an in-app action they just took. This is one of the best ways to increase secondary feature adoption.
Major announcements
The aggressive nature of modals makes them the perfect candidate for general announcements such as feature changes and new releases.
Slideouts
Slideouts are a less aggressive version of modals. They are very similar in terms of looks, but slideouts only take up a small part of the screen.

The use cases for slideouts are very similar to those of modals. However, they do provide a better experience when introducing new views for the first time.
Tooltips
Tooltips are one of the most popular UI patterns among product teams by far.

Tooltips are very useful in drawing the attention of users to a certain element of the screen.
This can be crucial in drawing users’ fo /cus into certain clues within that page as well as giving them tours of a certain view.
Driven-Actions
Driven actions are tooltips that direct users to take a certain action on a specific element on the page.

Driven actions serve the same purpose as tooltips but with the intent of driving user action. They also are the building block of interactive walkthroughs.
Hotspots
Hotspots are a subtle UI pattern, far less invasive than tooltips.

The idea behind hotspots is to allow the user to subtly discover clues at their own pace.
Hotspots won’t trigger on their own, ins /tead they will show a tooltip when clicked. The hotspot will then disappear after the tooltip is dismissed.
Hotspots won’t trigger on their own, ins /tead they will show a tooltip when clicked. The hotspot will then disappear after the tooltip is dismissed.
Checklists
Checklists are becoming more and more popular in the SaaS industry as a way of keeping new signups on track.

This UI pattern can motivate users to focus on the unfinished tasks, and ultimately help you increase activation.
Implementing Solutions for Your Hypothes /is
It’s now time to start building the onboarding experience using all the information you have collected throughout this course!
The key idea here is to be able to build the right UI patterns that will solve the issues you have identified in the user journey.
A good way to kickstart this process is by starting small.
Build one or two onboarding experiences, and deploy them on your staging server.
Have your team QA the experiences, and then deploy them to production when you feel ready.
There’s no golden rule here; your team must keep testing different onboarding experiences and UI patterns, and keep track of the effects on activation as well as secondary feature adoption.
It’s also important to make sure your onboarding experiences are highly targeted and personalized.
Segment users based on both their persona and the stage of the journey they are currently in. This will help make your content more effective, and a lot more relevant.
Lesson 4 Key Points
- Keep in mind the problems you’re trying to address when choosing the UI patterns for your onboarding experience.
- Start by creating one or two onboarding experiences on your staging, and have your team give feedback.
- Keep your onboarding experiences targeted and highly personalized.
- There is no golden rule of success here; keep iterating to optimize for product adoption.
Next Steps
You should, by now, have all the tools you need to start building your onboarding process.
With a mapped journey and clear success metrics, it is now up to you to keep iterating on your onboarding experience to optimize for success.
In the final lesson, we’ll be briefly discussing how to measure the effectiveness of your solutions and keep iterating on your onboarding process.