Try Userpilot Now
See Why 1,000+ Teams Choose Userpilot
What is a customer onboarding journey map?
The customer onboarding journey map visually represents a customer’s experience with a company during onboarding. The chart contains the different touchpoints and key actions users take through the onboarding process.
What are the benefits of mapping the customer onboarding process?
Mapping your onboarding process gives you a better understanding of how customers interact with your platform.
It also enables you to analyze and see areas that need to be optimized. Here are the specific benefits you’ll enjoy:
Improve the customer experience and drive retention
Mapping the customer journey and all touchpoints will help you identify user experience issues and optimize the UX. A good user experience will increase your retention as customers will come to love your tool.
Increase the freemium to paid conversion
Utilizing customer journey maps to provide optimal user experience will generally result in higher conversion rates for your paid plans. That’s because many users will choose to upgrade after experiencing the value of your product.
But leaving the process unoptimized could lead to much friction, causing customers to lag.
Align teams around common priorities and goals
Smaller companies tend to excel more at customer success.
The reason is that they’re small and hungry for customers. But as the company grows, different departments emerge, making it hard to align teams.
However, creating a journey map ensures everyone is on the same page on where pain points fit in the grand scheme of things.
What should be included in a customer onboarding journey map?
The customer journey is often non-linear, involving back and forths and different touchpoints. So, it’s best not to look out for a straight A-to-B journey because that rarely happens. Instead, create an onboarding journey map with elements that cater to the customer’s needs at every point.
Here are the elements to include:
Significant milestones in the customer journey
The first step in drafting a journey map is identifying the critical steps customers will take to get maximum value from your product.
Doing this helps you identify and address friction points easily.
Customer interactions across each step of the journey
This is where you detail user actions on your product. Visualize how your ideal customers will visit the website, take a demo, sign up for a free account, etc., and document all the details.
Emotions users experience at each touchpoint
Customers will have mixed emotions as they explore your tool—excitement, relief, frustration, etc.
You want your customers to experience positive emotions each time, so you should optimize for that. Simplifying your onboarding and making it fun will help in this regard.
Pain points and friction customers experience
Still, on feelings, customers experiencing negative emotions during onboarding is a sign that a pain point is present.
Your journey map should include possible pain point areas to enable you to identify where customers may be experiencing those negative feelings.
Solutions to overcome pain points
Don’t stop at identifying pain points. Your team should develop creative solutions that ensure a better user experience and customer satisfaction.
5 steps to create a customer onboarding journey map
You’ve known the elements to include in a customer onboarding map. Now, let’s go through a step-by-step guide for making one for your new customers.
1. Set clear objectives for the onboarding map
Every optimization process requires that you first assess your current state and properly understand what needs to be improved.
So, begin by gathering insights about each part of the existing onboarding journey.
Then proceed to set your objectives based on the areas that need to be improved on. For instance, your goal might be to increase the freemium to premium conversion rate, drive adoption for a specific feature, etc.
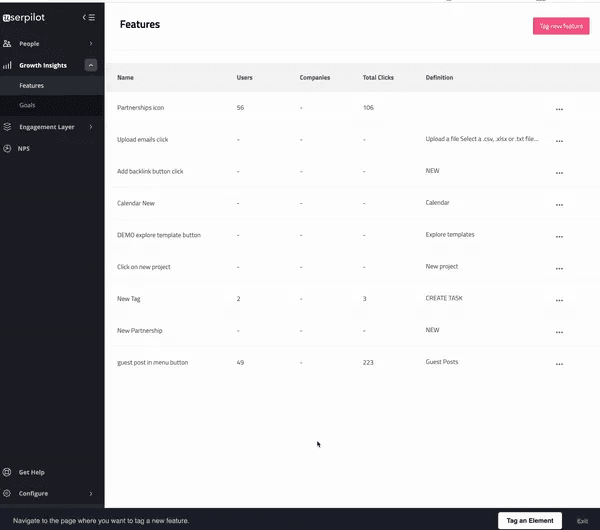
Two ways to gather insights:
Tag features and track product usage to understand how users interact with your product.
Use in-app surveys to collect information.
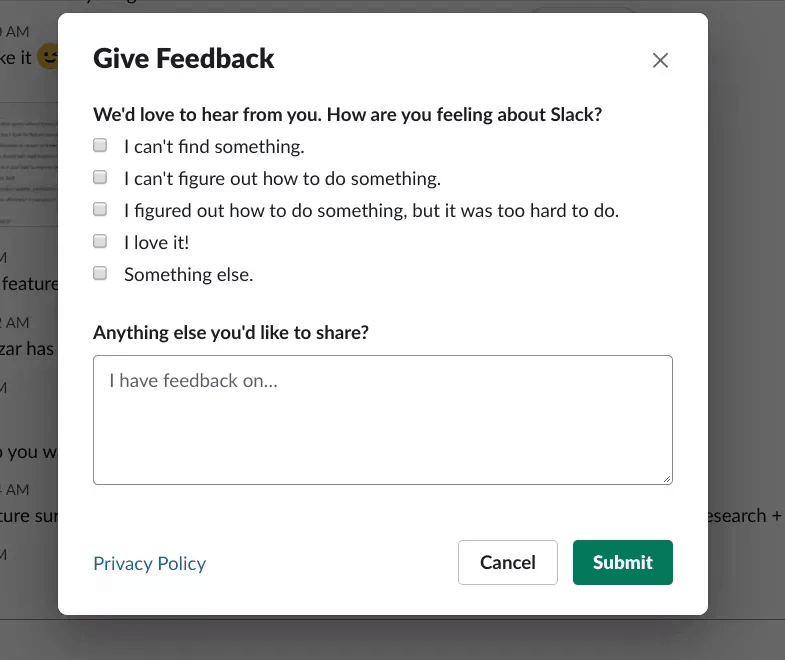
Make sure to track the completion of your goals too. Understanding what the users must do is step one, but in order to help them get there, you’ll need proper tracking.
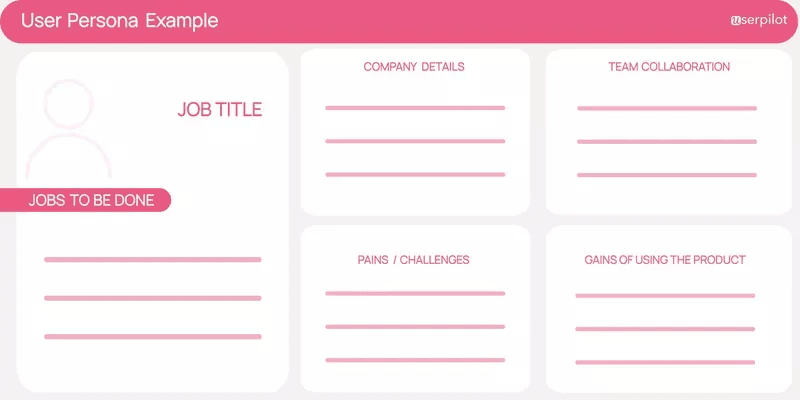
2. Identify target user personas and define their goals
You may have multiple customer personas with different journeys.
One map won’t cut it for all of them, so pick 1-2 relevant personas and design your first onboarding journey map with them in mind.
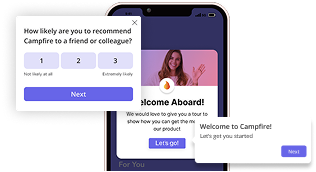
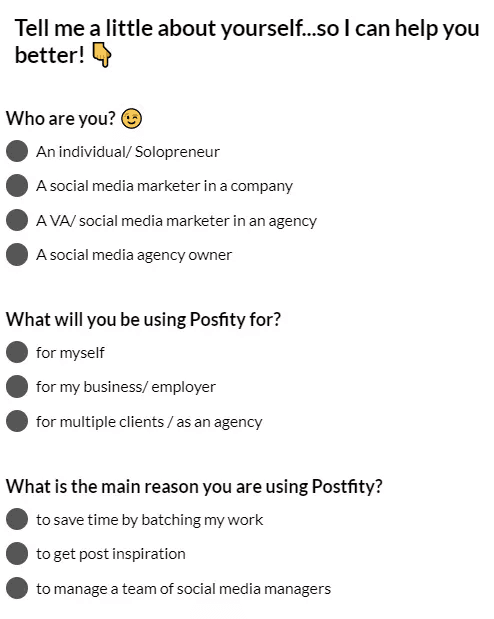
Also, survey customers to understand their specific pain points and where you fill in the gaps. You can easily do this with a welcome screen.
3. List all the important touchpoints across the customer onboarding journey
Touchpoints are how your customers interact with your brand through their journey. There are four important touchpoints for new users:
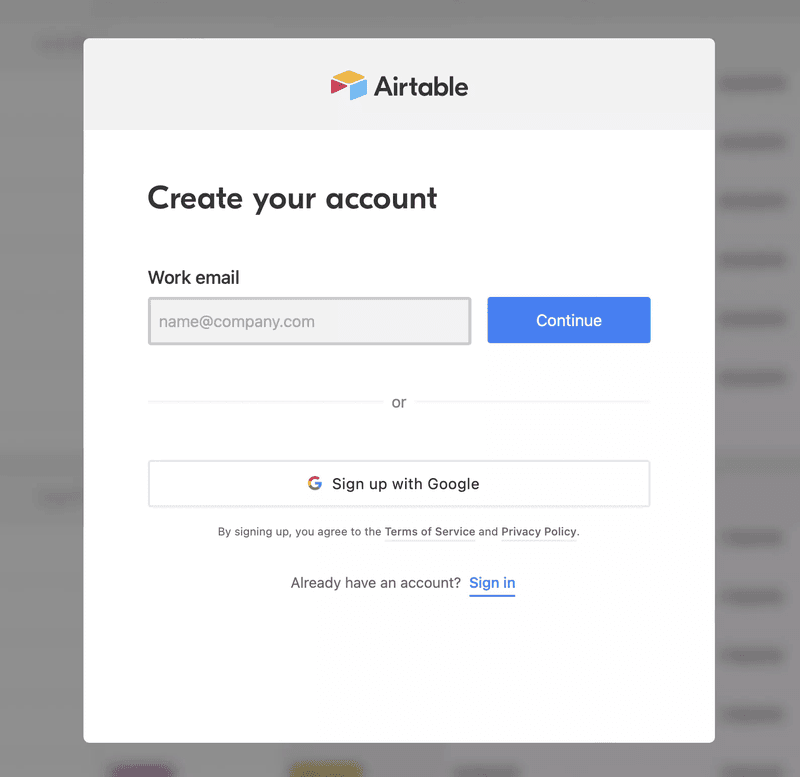
- Engaging with your sign-up form. Opt-in and sign-up forms are filled by potential customers with a substantial interest in your product. Make the process easy and simple so your customers can quickly get to the next step in their journey.
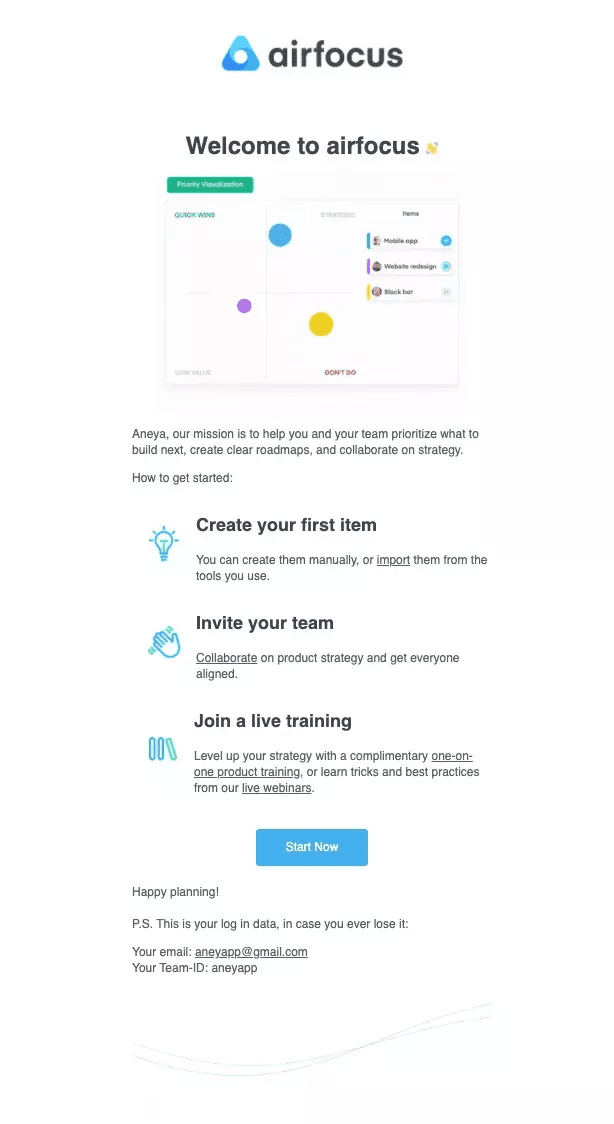
- Interacting with welcome emails and follow-up emails. These emails should be short and sweet. Their aim is to set the foundation for a good business-customer relationship and also provide users with useful CTAs, as Airfocus did in the screenshot below:
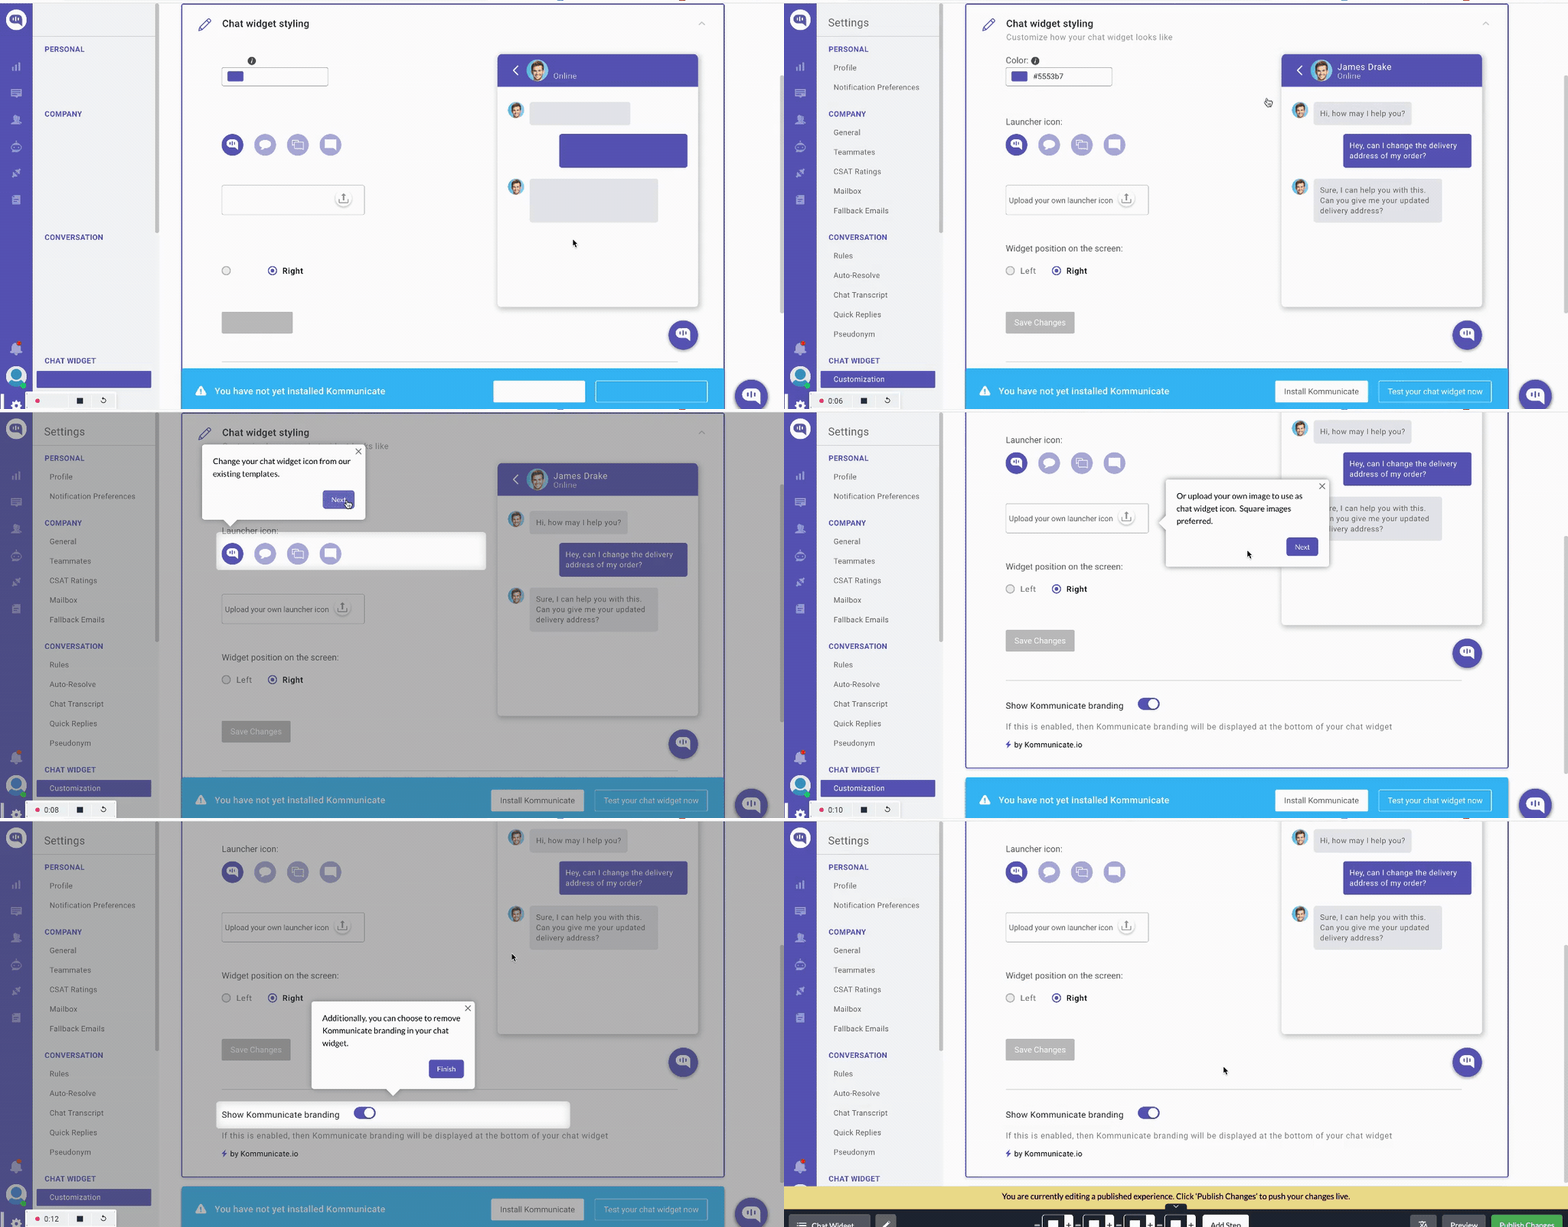
- Engaging with product walkthroughs. This is another important touchpoint for new users. Product walkthroughs are interactive and efficient for getting users up to speed with key features. The great thing about walkthroughs is that they’re set up once by the onboarding specialist, and users can go through without needing direct human support.
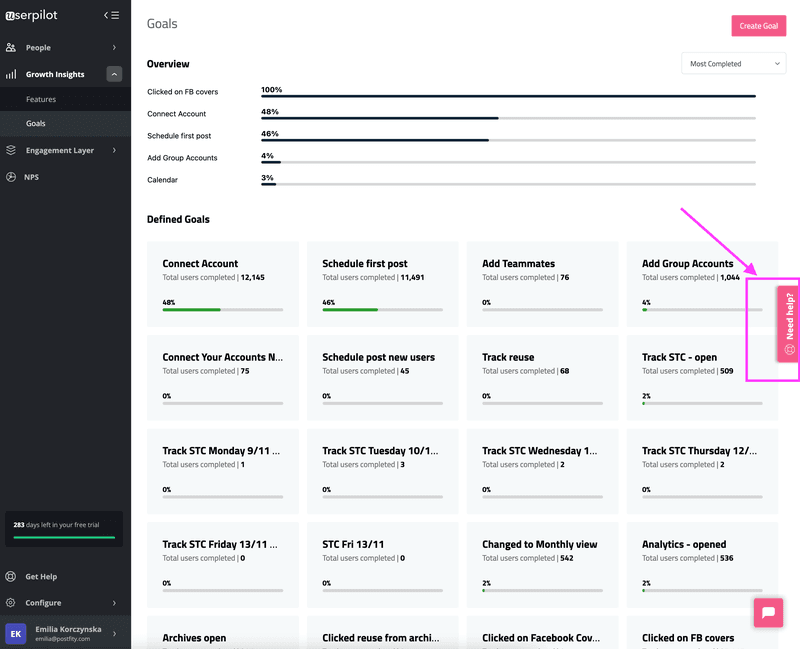
- Reaching out to customer support and technical support. Most customers prefer to resolve issues independently, but some cases may arise that need the help of a support agent. Be proactive by providing a contact form or a live chat pop-up and placing these where customers can easily see them. Using the in-app help center is usually a great place.
It goes without saying that your customer support agents should be trained to respond appropriately and provide customers with the best possible experience.
4. Define the essential onboarding process milestones
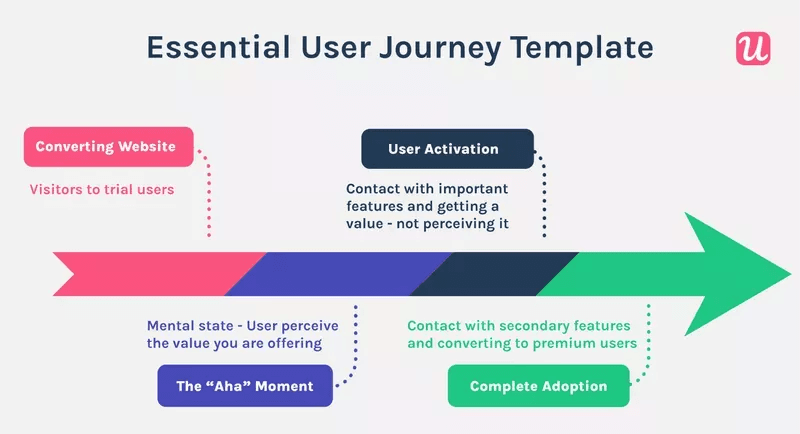
Break down the whole process into smaller milestones. Create a mini-map for each major milestone, again listing all the emotions, interactions, solutions, etc. Some milestones to consider:
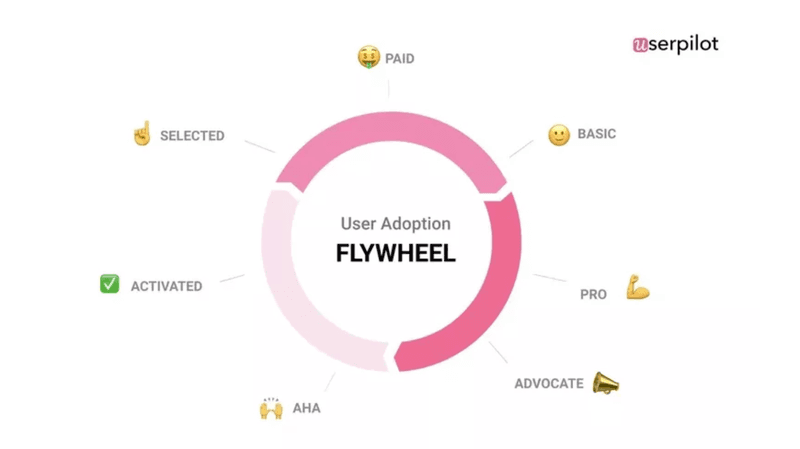
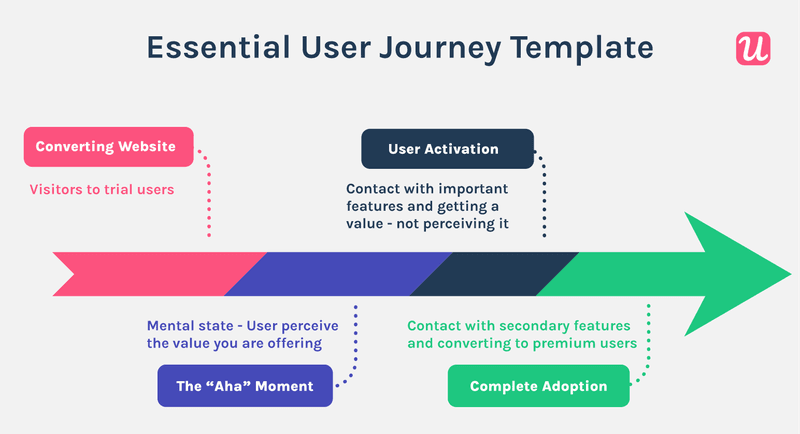
Aha moment
This is where the user first realizes the value of your product.
Activation
Users complete the onboarding process and engage with core features. In the Aha moment, it just dawned on them that your tool is what they need.
But activation happens when they’ve actually experienced your product first hand and got a deeper conviction.
Key feature adoption
This milestone is reached when users engage with multiple key features and become proficient in using them.
5. Determine the happy path
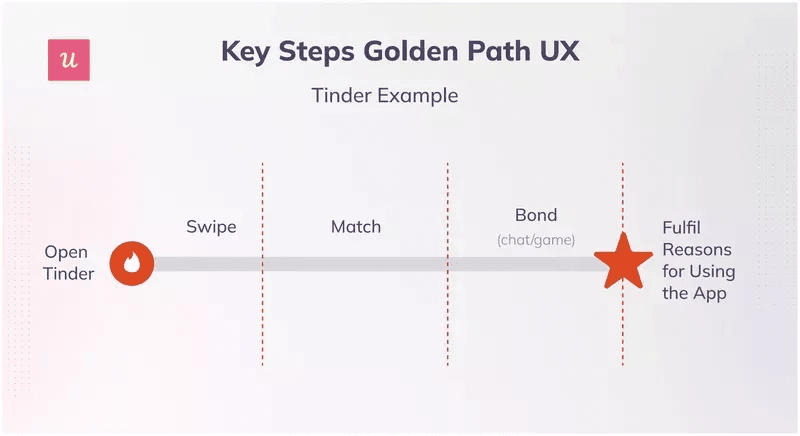
The happy or golden path is the ideal path in your product that users take to achieve their goals.
The opposite of this is the unhappy path. It has much friction and doesn’t help users reach the end goal.
Use UX analytics to identify the unhappy paths in your tool and keep users from getting on them.
How to optimize the customer onboarding journey and increase conversions?
Constant improvement is the rule of the game when it comes to SaaS customer onboarding.
This section provides tips to help you optimize your onboarding and convert customers better.
Start by focusing on the minimum viable onboarding
The minimum viable onboarding (MVO) centers on getting users engaged in activities that quickly lead to activation.
MVO is the starting point of optimizing your onboarding flow; nothing else matters without this critical step.
If you’re interested, you can watch our MVO webinar on YouTube for a more detailed explanation.
Segment user personas by their jobs to be done and trigger relevant onboarding flows
You’ve already done user research and identified your user personas and their goals.
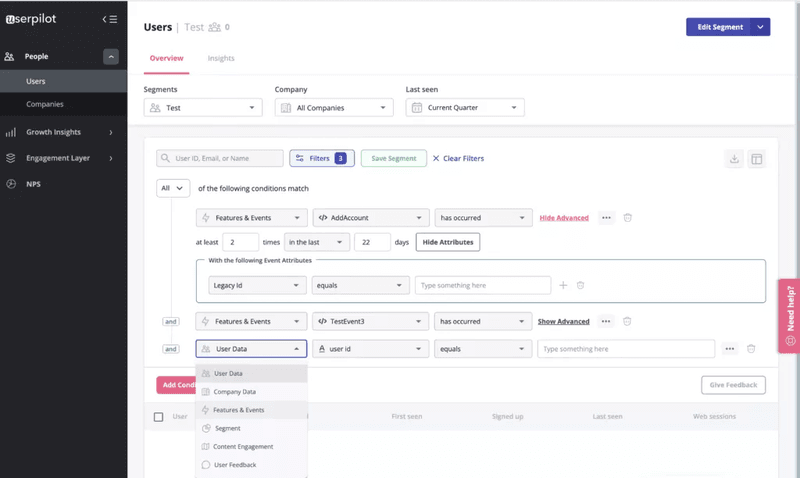
Now use that data to group users with similar goals in segments and trigger relevant onboarding experiences. With mobile capabilities, you can effectively onboard and engage mobile app users by creating personalized messaging, push notifications, and surveys tailored to these segments.
For example, trigger a UI pattern (can be a modal, a tooltip, etc.) with an embedded video tutorial on a specific feature that a particular segment is likely to find useful.
Replicate power user’s journeys
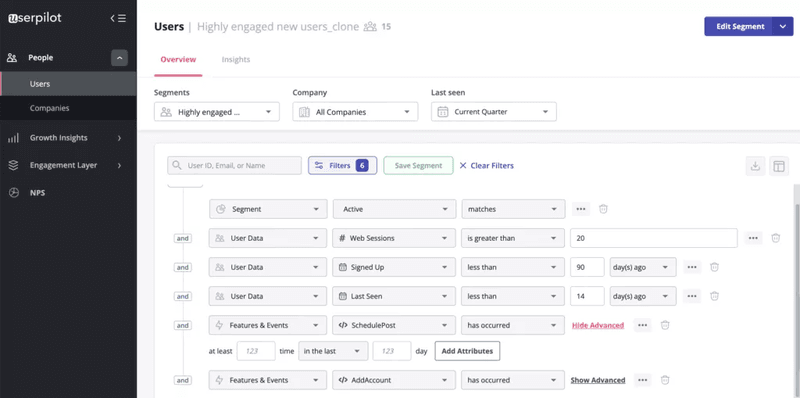
Power users are your most engaged and loyal customers. They represent your ideal users, and you can replicate more of them by studying them.
Dive into details and see what onboarding flows and experiences you’ve triggered that led them to convert and retain. For qualitative data, you can invite power users to give detailed feedback on your onboarding program.
Implement their feedback and the insights from your analysis on the rest of your users, turning many more into loyal customers.
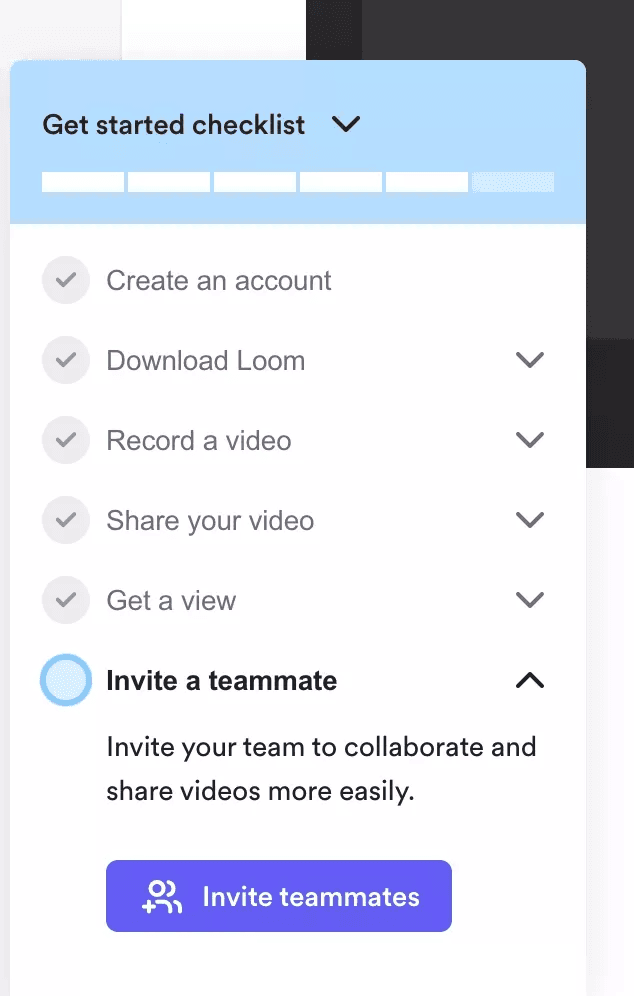
Use checklists to keep users on the desired onboarding journey
You must have identified the happy path during your customer onboarding journey map, but left on their own, users can wander into countless unhappy paths.
They’ll experience friction and likely churn.
But checklists come to the rescue. With checklists, you can guide the users through your product, ensuring they stick to the happy path.
Gamify the user experience and celebrate customer milestones
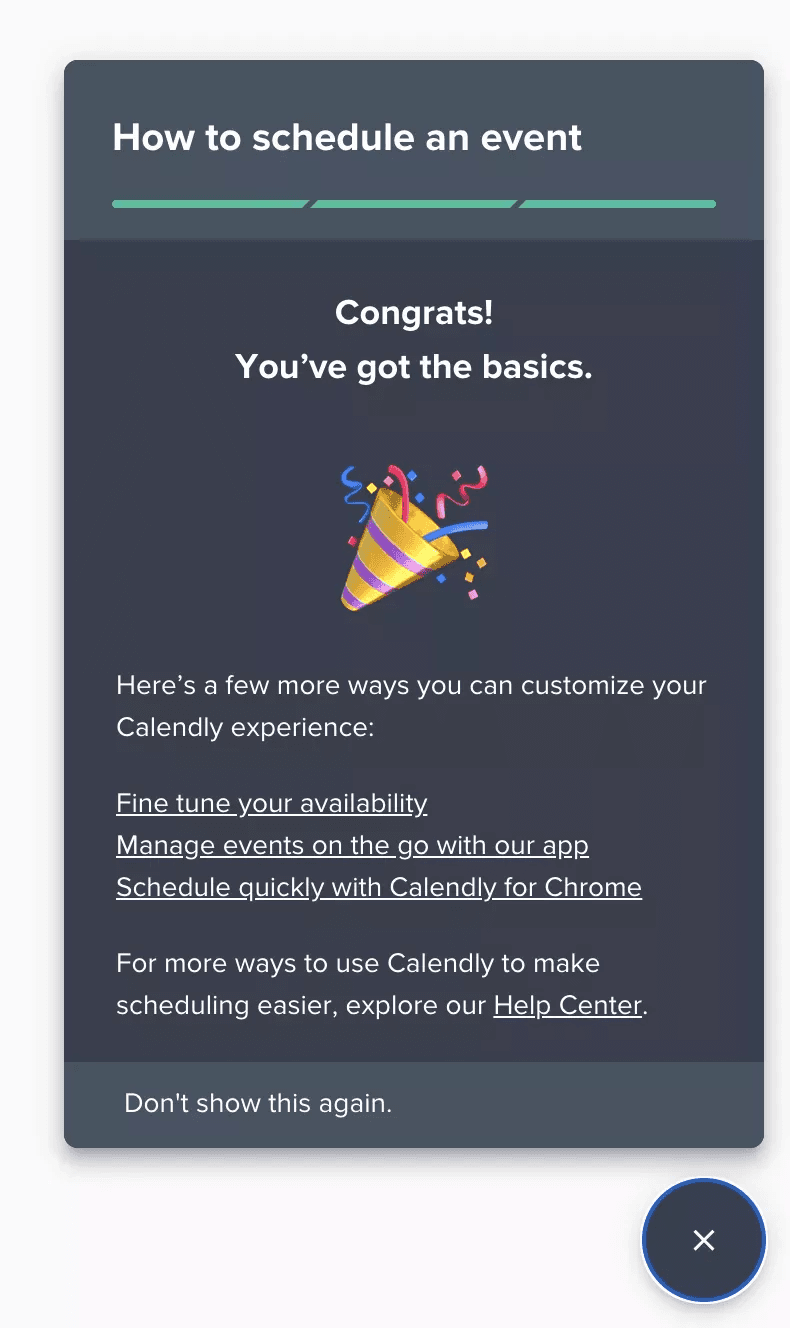
Everyone likes a bit of fun. And what happens when you can weave fun into a serious professional setting? You’ll seize the day!
It’s easy to implement gamification for software apps and improve onboarding.
Simply add fun elements to your UI, acknowledging customer success and rewarding them with cute gifs, emojis, etc., for milestones reached. This will provoke positive emotions and motivate users to reach another milestone.
Offer self-service to remove friction
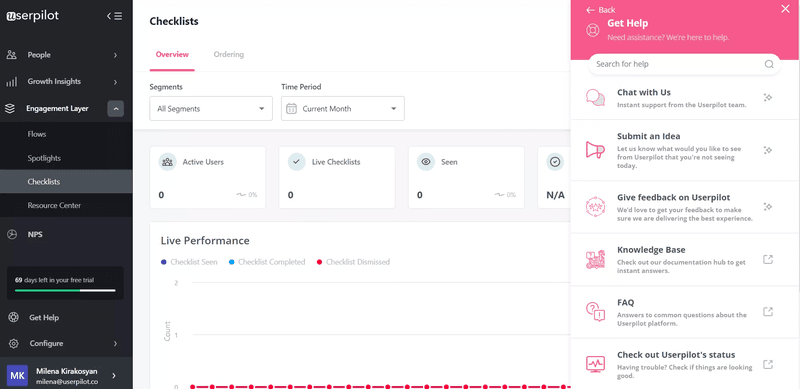
Self-serve resources reduce friction by making necessary information available at the customer’s fingertip.
All your user has to do when they get stuck is move to the resource center and search for answers using keywords that best describe their situation.
This reduces the workload on your support agents.
It also makes customers happy because there is no more confusion with the product, and they don’t have to wait in line to speak with customer care agents.
Conclusion
And that’s a wrap! Hopefully, you’ve picked up lessons to begin implementing right away. As you go to create (or recreate) your next onboarding journey map, don’t forget to include the five elements discussed earlier. Again, they are:
- Significant milestones
- Customer interactions
- Emotions
- Pain points
- Solutions
Ready to get started with customer journey mapping? Book a demo call with our team to see how Userpilot can help you create customer onboarding journey maps that fit your ideal audience and drive conversions.


