Product and Lifecycle Marketing: How to Create a Seamless Customer Journey


Product lifecycle marketing strategies are how I turn signups into customers who stick. Too often, teams capture product signals but lack the workflow to act on them. The result? Missed opportunities to send timely, personal messages led to retention drops.
On October 8, 2025, I’ll share a practical playbook during this year’s Product Drive. Grab your seat now!
In this post, I explain the theory behind my PLG approach to product marketing, walk through a step-by-step campaign setup, and show how to run it in Userpilot.
The shift of product marketing in PLG: From funnel to flywheel
SaaS companies should treat the customer journey as a continuous loop, not a one-time push to a sale. That is why, instead of a traditional funnel, product marketers should consider the PLG flywheel.
The flywheel asks us to invest in the product experience, so users keep moving to the next stage. Over time, their success attracts the next cohort.
The model maps five user states, Stranger → Explorer → Beginner → Regular → Champion, and five moves that push them forward: Evaluate, Activate, Adopt, Expand, Advocate.
Next, I’ll break down how to tackle each part of the journey.
Evaluate: From Strangers to Explorers
At this point, potential customers are strangers. They might have heard about your product but haven’t engaged with it. They’re curious, still scanning their options. Your job is to help them connect their needs with the value you provide.
Goals for this stage
- Show that you understand your prospects’ pain points and jobs-to-be-done (JTBD).
- Offer clear, relatable examples of how your product fits their role.
- Remove barriers to exploration, make it easy to sign up, test, or learn more.
How to communicate with Strangers?
Start by understanding what works when every touchpoint lines up, targeting all your communication (such as landing page copy, social media posts, or ads) to your ideal customer profile. To build it, run interviews or focus groups, talk to the customer success or sales teams, or capture feedback from your existing users with quick in-app surveys.
Activate: From Explorers to Beginners
Explorers are new users who have signed up or tried your product. However, they haven’t yet experienced that first ‘aha!’ moment yet. The goal is to turn their curiosity into success and activate your users.
Goals for this stage
- Deliver a clear outcome in the first session.
- Shorten the path from signup to the first meaningful action.
- Ensure educational materials are always easily accessible.
How to communicate with Explorers?
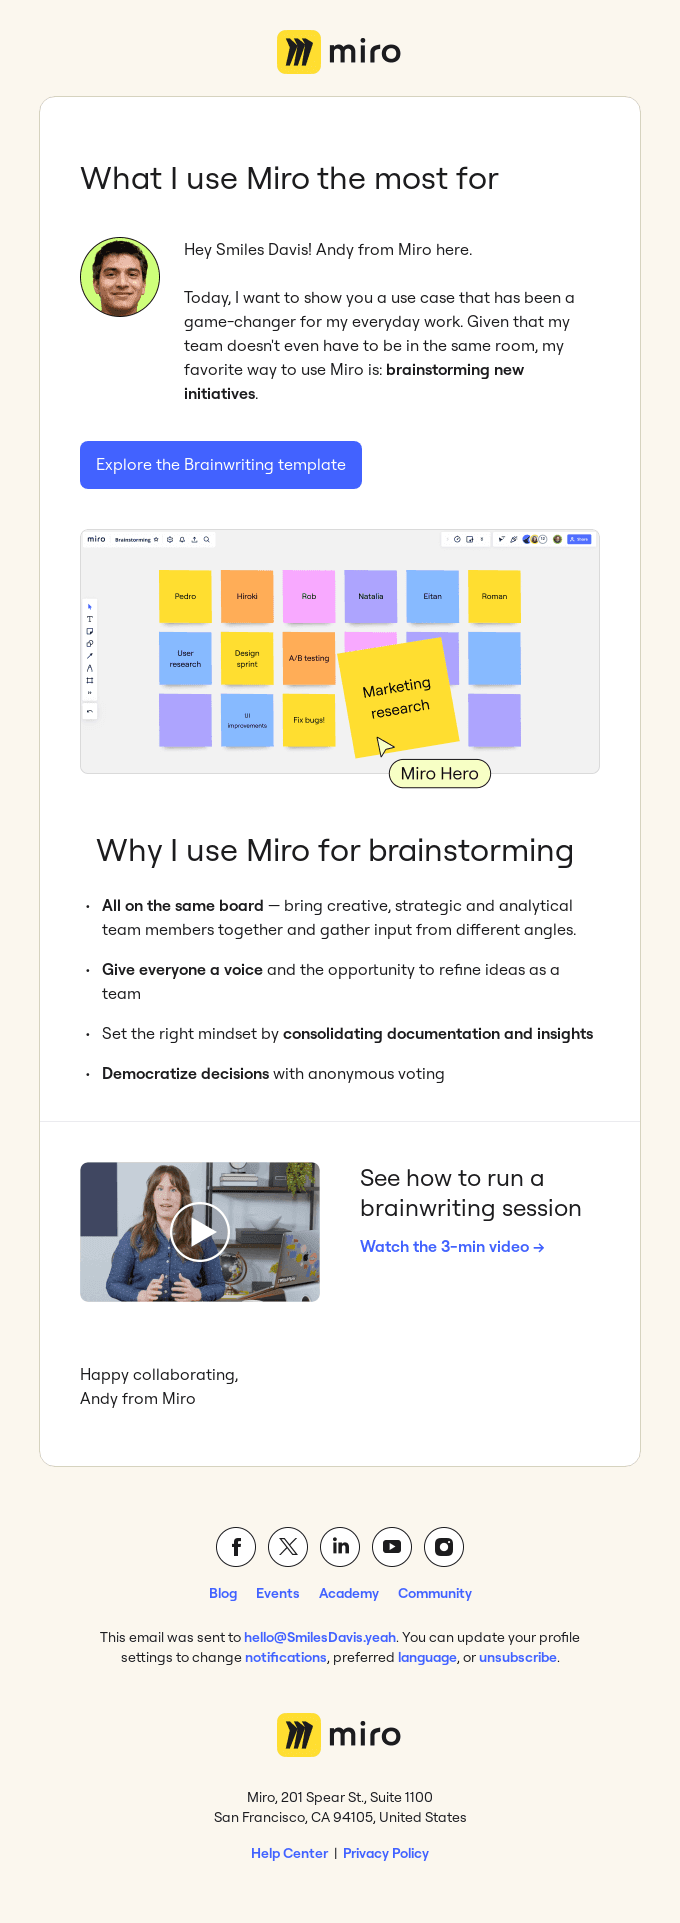
I start with a welcome email tied to the user’s JTBD. For example, if someone came to improve onboarding, my note says, “Launch your first checklist in five minutes.” The email’s CTA button opens the app and loads an onboarding flow.
In-product, I use a short checklist and a few tooltips that move this user to the activation event. I personalize the product tour based on the user’s JTBDs, starting by showing the most relevant features.
Adopt: From Beginners to Regulars
Beginners have reached the activation point. Now, it’s time to turn that early win into habitual use by teaching more advanced features and use cases.
Goals for this stage
- Encourage frequent, consistent product use.
- Promote features that unlock clear outcomes for each role.
- Build user confidence and self-sufficiency.
How to communicate with Beginners?
I focus on secondary onboarding that feels helpful, not heavy. In-app, I spotlight one unused feature tied to the user’s goal, and then walk the users through it with a short product tour. Outside the product, I invite users to a webinar or mini-lesson that matches their use case. I also review actual product usage to find drop-offs. Then, I can design nudges that fill those gaps.
Expand: From Regulars to Champions
Regulars already use the product with confidence. My focus shifts to helping them unlock more advanced value and discover areas they haven’t explored yet.
Goals for this stage
- Nudge users to discover advanced and premium features.
- Create clear, timely paths to upgrade.
How to communicate with Regulars?
I share role-specific education on advanced use cases, such as webinars, in-person training sessions, high-level guides, or case studies. This is also the right stage for sending well-timed upsell emails that focus on your users’ specific needs and the value they get from your product. You can also set up an in-app modal showing a clear upgrade path.
Advocate: Empower Champions to drive growth
Champions are your most loyal users. They’ve mastered the product, gained real results, and may want to share their experience. In product lifecycle marketing strategies, this stage turns satisfaction into advocacy that fuels new acquisitions.
Goals for this stage
- Strengthen loyalty with recognition and insider access.
- Encourage public advocacy (reviews, referrals, case studies).
- Collect feedback to improve the product and messaging.
How to communicate with Champions?
I treat Champions like partners. That means offering special incentives, early beta invites, advanced playbooks, or a small token of appreciation for their loyalty.
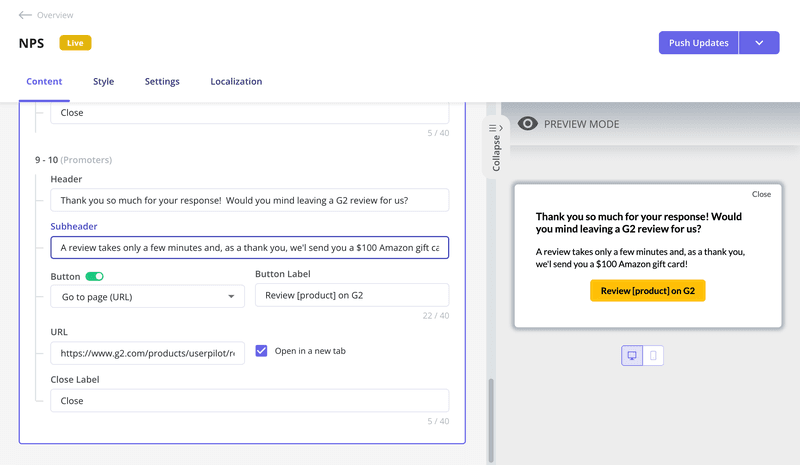
I also ask champions to publish a G2 or Capterra review, refer a peer using a personal link, or join a short call to validate a new release. Timing matters, so I reach out right after they’ve hit a success milestone or given a high score in an NPS survey. I use in-app nudges for quick asks (like a survey or review prompt) and email when I want a longer story or case study.
Omnichannel lifecycle experience as key to successful PLG
A PLG engine works when every touchpoint lines up. You should aim to create an omnichannel lifecycle strategy that links product usage, in-product messages, and external channels such as email and webinars. Here are the components necessary to get your PLG up and running:
- Product experience: A clear, intuitive UI that helps users reach goals fast.
- In-product communication: Nudges, tooltips, checklists, and surveys that guide the next step.
- Out-of-product communication: Email, webinars, and mobile messages that follow up when users are away, as well as easy access to customer support.
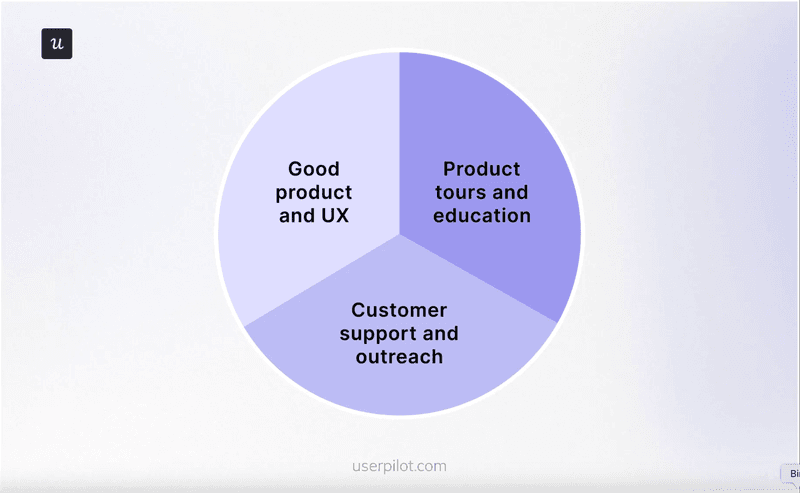
It comes down to three pillars: UX, education, and support. Let’s break it down one by one.
Good product and UX
Lifecycle marketing only works when the product is easy to use. It should be designed for clarity, simplicity, and usability. As a product marketer, I partner with product and design to establish these foundations:
- Product–market fit: We solve a verified problem for a defined segment, confirmed by interviews, support data, and usage patterns.
- JTBD alignment: Each feature aligns to a defined job-to-be-done and a clear user outcome.
- Familiar patterns: Labels, layouts, and interactions feel natural, making the product easy to use from day one.
Product tours and education
Even the best products benefit from timely explanations that help people take the next step with confidence. The key is to deliver support in the correct format, exactly when it’s needed.
Here’s how to set it up:
- Guide first-time users with in-app onboarding.
- Use product tours to highlight new features or advanced workflows.
- Offer self-serve learning through a resource center, knowledge base, docs, or webinars.
Customer support and outreach
Provide responsive support to prevent drop-offs and continuously gather user feedback. Your customers’ experiences, opinions, and needs are useful to build a product roadmap.
Here’s how to set up a good support engine:
- Fast access: Add a chat widget, an in-app Help button, and a clear Resource Center entry. Set response targets.
- CSM cadence for premium: Run a kickoff, monthly check-ins, and brief alerts before and after major releases. Share a summary of outcomes after each call.
- Continuous feedback: Place always-on forms in the trigger NPS after key milestones, and send CSAT after support threads. Tag themes so the product sees patterns.
- Close the loop: When feedback leads to a fix or feature, tell users what changed and where to find it.
How to create product lifecycle marketing strategies with conversational and product bumpers
We’ve gone through the lifecycle stages and the channels you can use. The next step is putting it all together into a communication strategy that works across every touchpoint.
The secret is hyper-personalization, delivering the right message to the right user at the right time.
One way to do this is by designing conversational bumpers and product bumpers that move users quickly from signup (A) to activation (B), and then on to retention and expansion.
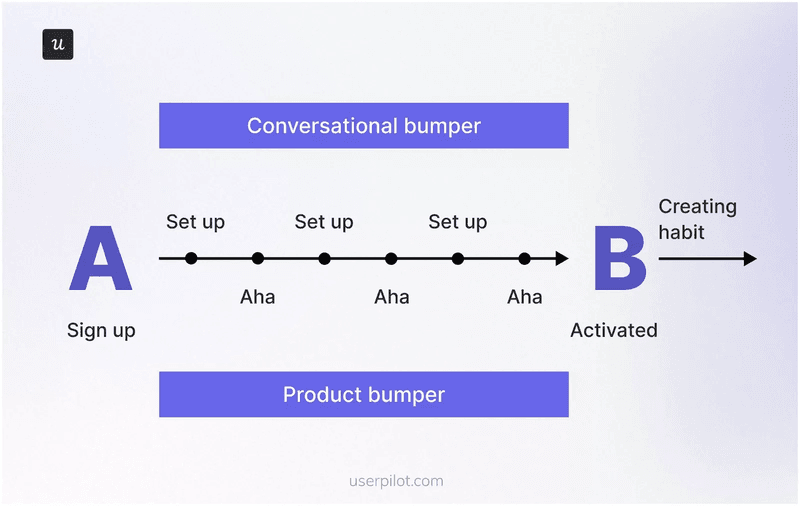
- Conversational bumpers are the messages that guide and motivate: Welcome emails, onboarding prompts, feature explanations, and re-engagement nudges. They set the context and spark the desire to act.
- Product bumpers are the in-app elements that make action easy: Onboarding checklists, progress bars, and empty state CTAs. They reduce friction and show users the path forward.
When these two work together, the journey feels natural, messaging sparks intent, and the product delivers the action. This combination helps turn new users into active, loyal customers.
Below, we’ll break down the three stages of designing such a strategy, drawing from the “bowling alley” adoption framework.
Step 1: Map out a user path
I start by signing up like a brand new user for each persona and writing down every click from sign-up to activation. Then I label each step to figure out what the perfect path looks like, using three colors:
- Green = must happen. All the unskippable interactions that move a user towards finding the first value, for example, verify email or SSO login, install the tracking snippet, or connect the primary data source.
- Yellow = nice to have. Useful for the users, but not required to get started. Examples include inviting teammates for collaboration or setting notification rules.
- Red = leave for later. All the steps that can wait until the user is activated, for example, using more advanced features or setting detailed preferences.
Step 2: Design product bumpers
Product bumpers are the in-app helpers that move a user forward. Here are a few examples of how to set up a good in-app onboarding sequence:
- Welcome messages: I greet new users on their first visit, confirm they’re in the right place, and set one clear next step. A short line of copy and a single primary CTA work best to inspire momentum.
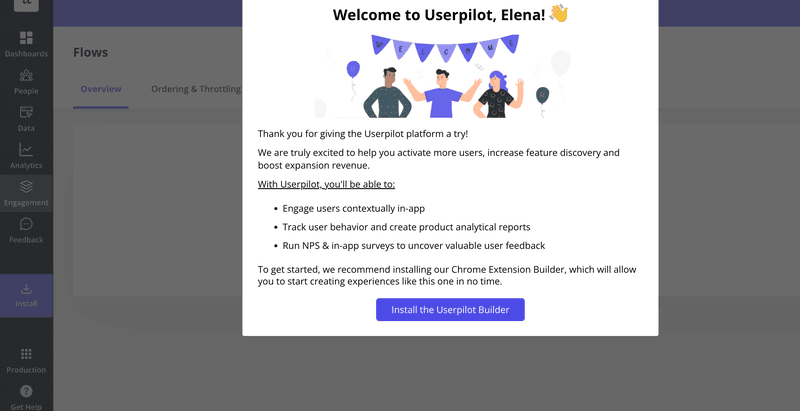
- Product tours: I launch short, interactive walkthroughs that show how to complete one job from start to finish. Tours are triggered by segment and context, so each user sees steps that match their use case.
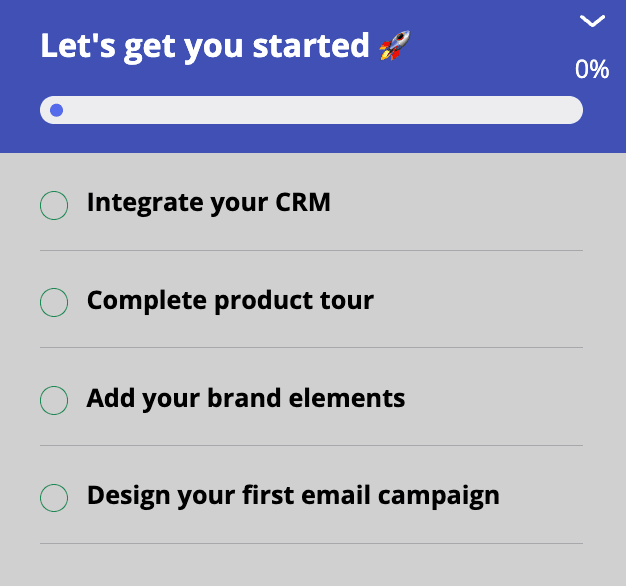
- Checklists: I publish a visible list of 3–5 actions that define activation. Progress bars and quick wins keep the users motivated and make the onboarding feel manageable.
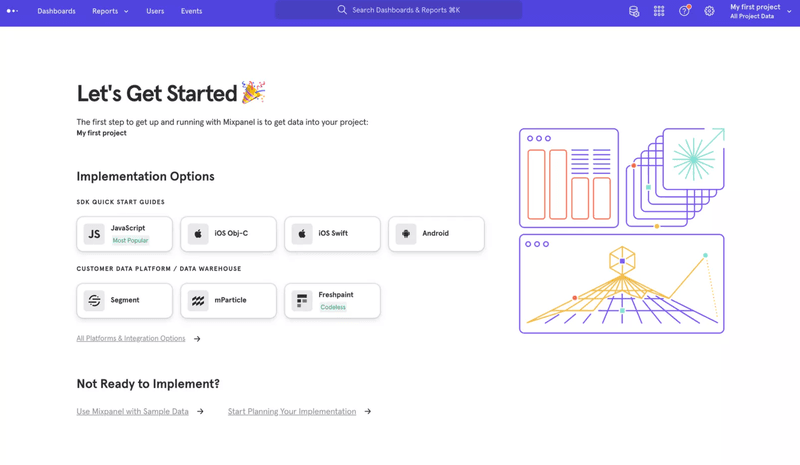
- Empty states: I turn blank screens into an actionable guide with a set of tips on how to get started and clear CTAs.
Step 3: Design conversational bumpers
Conversational bumpers are simple messages that guide users to activation or bring them back to the right path. They’re often sent by email. If you’re looking for a more in-depth playbook, I’ve broken it down in this guide on lifecycle email marketing.
Here are the core emails I ship:
- Welcome emails: Set the tone and point to one job-to-be-done. Example: “Create your first report in 2 minutes.” Keep one CTA that opens the app and drops the user into onboarding.

- Usage tips: Great for secondary onboarding, when you can introduce more advanced features or a shortcut to success. Share clear tips on how to get started and include a CTA straight to the product.
- Sales touches: I message users when they reach a milestone, or show signs they need a nudge, for example, due to inactivity. I explain what an upgrade unlocks for this use case and offer a quick call or checkout link.
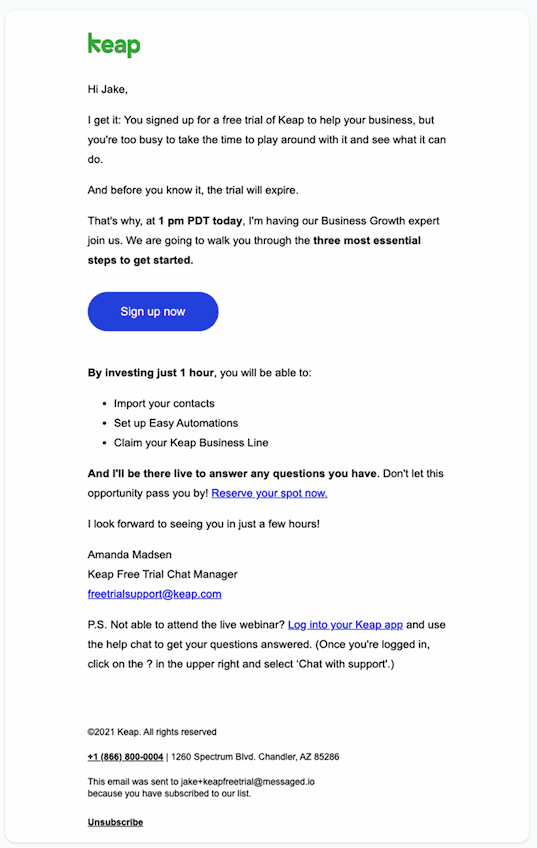
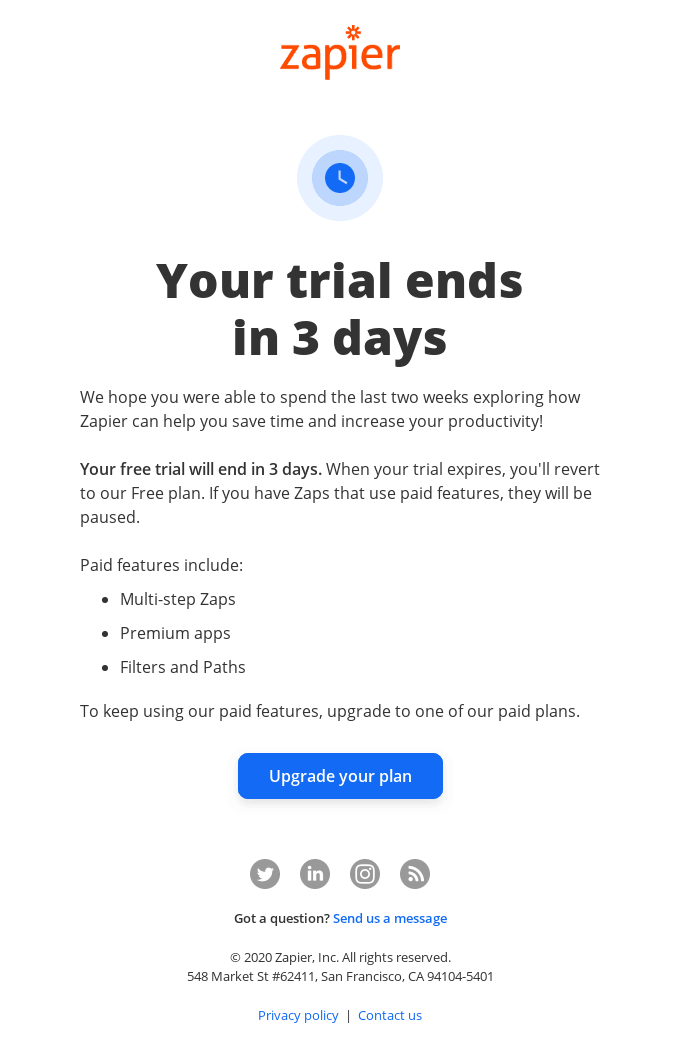
- Expiry warning or trial extension: Send these emails when a user is nearing the end of their trial (for example, three days earlier) or when they show a clear interest in an upgrade (they reached out to customer success teams or frequently check the pricing page).
How Userpilot can help you design your omnichannel communication strategy
The best way to run lifecycle marketing is with an all-in-one growth platform because it lets you:
- Keep all your data in one place: User and product data sit side by side, so you can create smart segments and triggers without pulling from different tools.
- Design journeys across channels: Set up communication across email, in-app, mobile, and web. Use checklists, product tours, and push notifications to meet users where they are.
- Results you can measure: Analytics tie outcomes like activation, retention, and upgrades back to product use. For example, you can see if a new onboarding flow really sped up activation.
I first used Userpilot as a customer. Today, I’m on Userpilot’s product marketing team, and I still use it to build and run PLG campaigns. In the next section, I’ll give you a glimpse of my playbook and show you how to segment users, build bumpers, run tests, and track results.
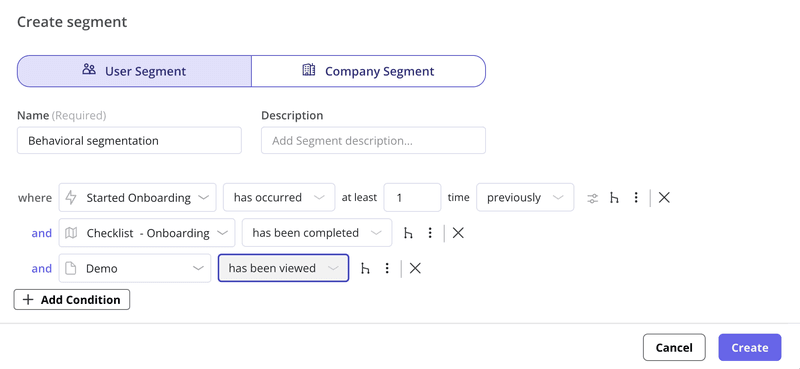
Segment users based on their JTBDs and lifecycle stages to hyperpersonalize their experiences
Start by grouping users by role, JTBDs, lifecycle stage, and product usage so you can deliver the right message to the right people. With Userpilot, setting up segments is easy:
- User attributes can sync directly from your CRM.
- JTBDs can be captured during signup flows or quick surveys.
- In-app behavior can be tracked by tagging pages and events with a simple no-code visual labeler.
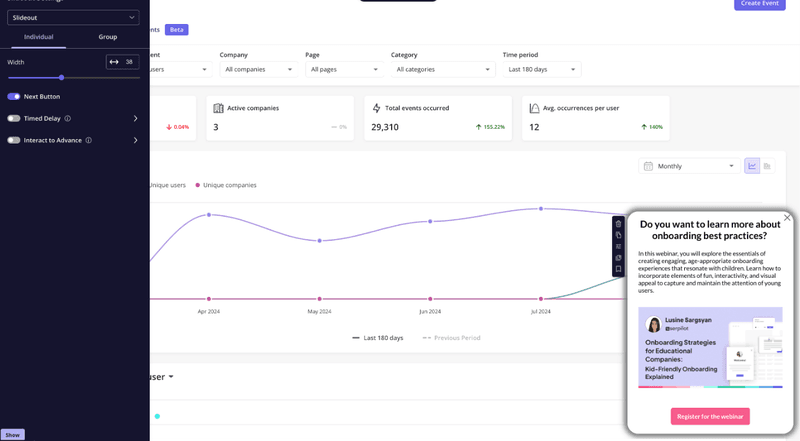
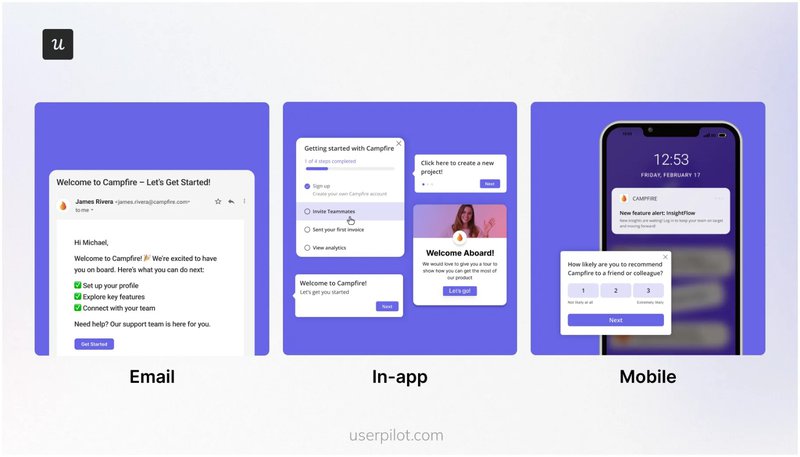
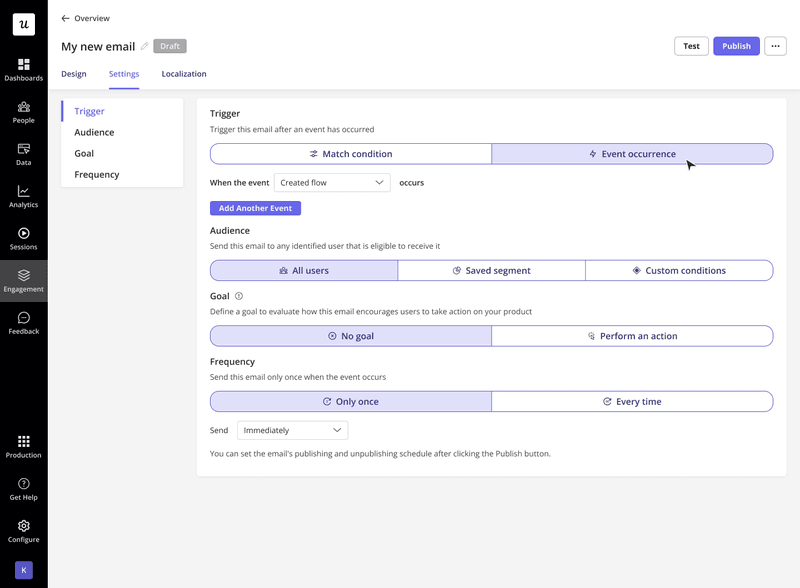
Set up omnichannel communication flows to reach the right users at the right time
Centralize email, in-app, and mobile channels to link product events with messaging for precise, timely outreach. With Userpilot, setting up segments is easy:
- Reuse the same segments for all channels.
- Trigger messages based on real-time user actions inside the product.
- Assign trigger priority, choose the preferred channel, and add a cooldown so messages don’t repeat.
Monitor and optimize to find the most successful paths
I monitor every campaign with Userpilot to see what works. Then I run quick tests and adjust flows so users reach activation faster and improve retention. Here are the three checks I run:
- Test in-app flows with A/B testing: Split traffic between a control and a variant, then compare completion, activation, or time to value.

- Track each channel’s performance: Use Userpilot’s dedicated dashboards for email, in-app, and mobile with clear KPIs. Create a unified dashboard for a comprehensive view of the journey.
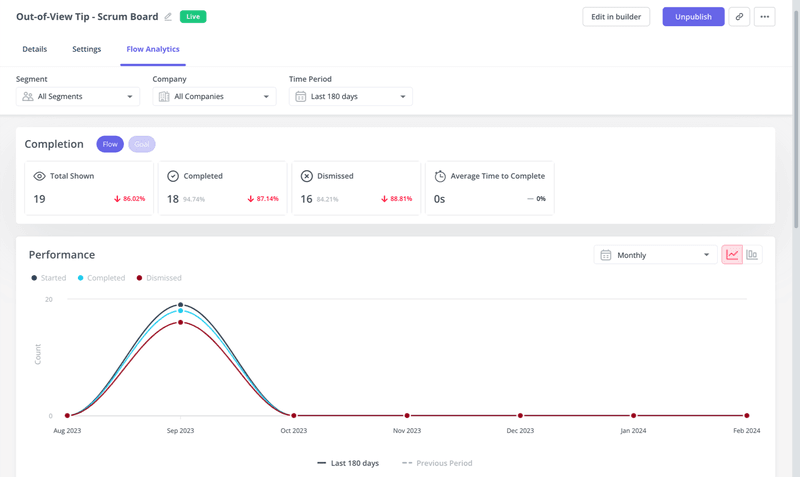
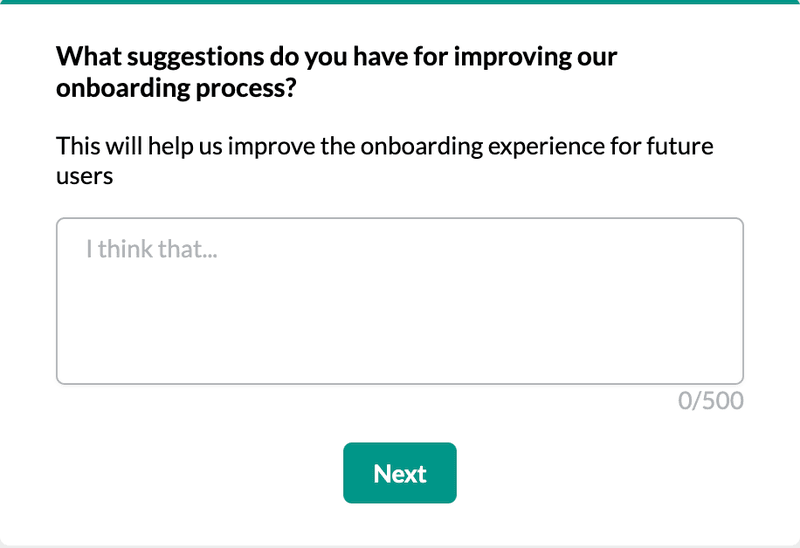
- Collect feedback with surveys: Trigger a short survey after onboarding or when a guide completes their training, then send summarized responses to the product and support teams.
Build a complete customer journey to drive product growth
Product lifecycle marketing strategies are the most reliable path to sustainable SaaS growth. Today, I covered the core theory, walked through a step-by-step playbook for mapping the customer journey and reducing friction, and showed practical ways to run those campaigns in Userpilot.
Would you like to learn more strategies hands-on? Join my online session during the Product Drive conference on October 8, 2025. It’s online and free, but seats are limited and running out fast.
I’ll cover the instrumentation you need, the triggers that convert, and a lightweight workflow to align PMM, product, and growth. See you there!
About the author